
Microsoft Dynamics NAV is an Enterprise Solution for Resource Planning suitable for any mid-sized organisations. It helps you to manage business related information generated from the Customer Relationship Management (CRM) transactions. Most common uses cases for this at your workplace would be one of these, but not limited to these only: Purchasing, Quoting, Ordering, Shipping and Invoicing.
The more robust feature of this NAV 2018 is its ability to reduce manual data entry process in maintaining transaction data. So, it uses the Optical Character Recognition (OCR) technology to help you in making redundant task look easier and less error prone than ever.
Here are the simple steps to implement an OCR based Purchase Document creation in NAV 2018
Step 1:
Complete the ReadSoft Online OCR service by clicking the below URL
Click Here
- Choose a plan and Register – Fill your company details and select a password for your ReadSoft Online store account.
- After successful registration, ReadSoft Online service account is created, and you will receive a welcome email with login credentials and other details. In the welcome email, click the link for setting up the password for your ReadSoft Online service account.
Step 2:
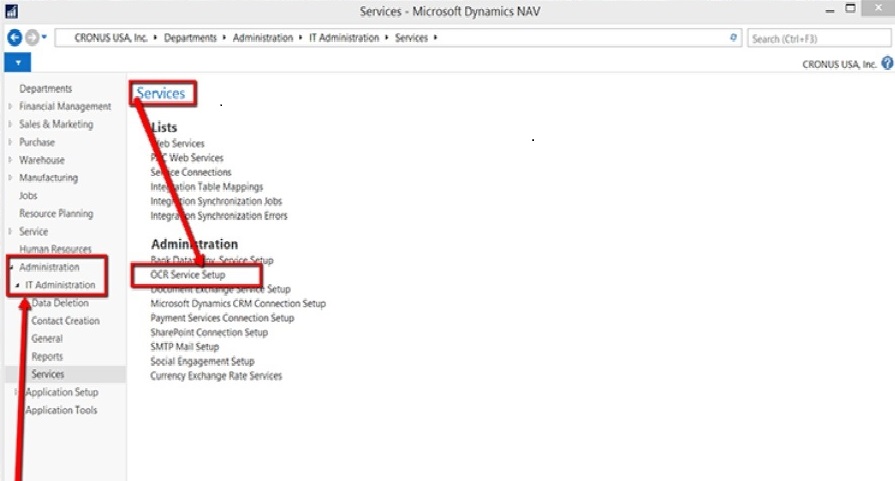
Login to NAV 2018 using the credentials of a company (here. Eg. CRONUS USA Inc is the company that is setup) and follow the below navigation
CRONUS USA, Inc. > Departments > Administration > IT Administration > Services Menu
Click ‘OCR Service Setup’ option to launch OCR Setup form
Step 3:
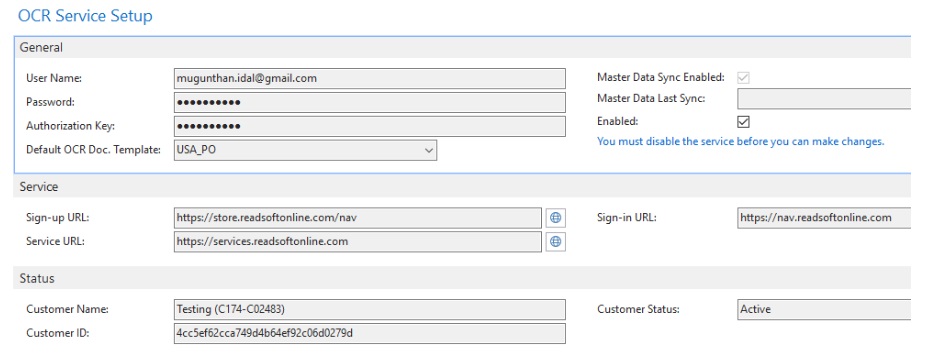
In the OCR Service Setup page
- Provide the username, password and authorization key for your add-on OCR services. For e.g. ReadSoft Online service account.
- Click Test Connection to verify your License and Connection.
- Select the default OCR doc template based on the country you are operating in.
- If you use Dynamics NAV 2017 or later, or Microsoft Dynamics 365 Business Central, we recommend selecting Master Data Sync Enabled.
- Select Enabled to turn on the OCR service.
Step 4:
Fill in the fields as shown below to enable the OCR service.
Step 5:
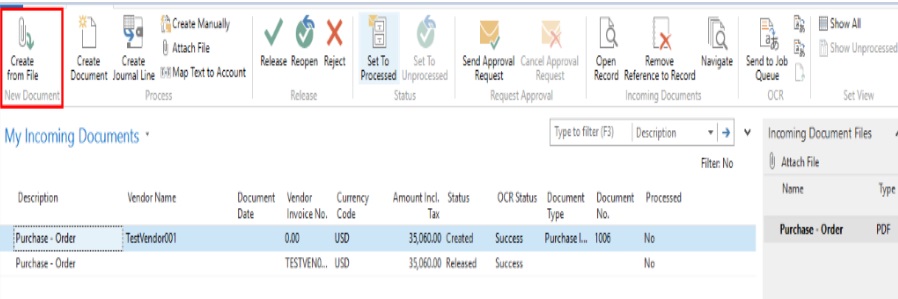
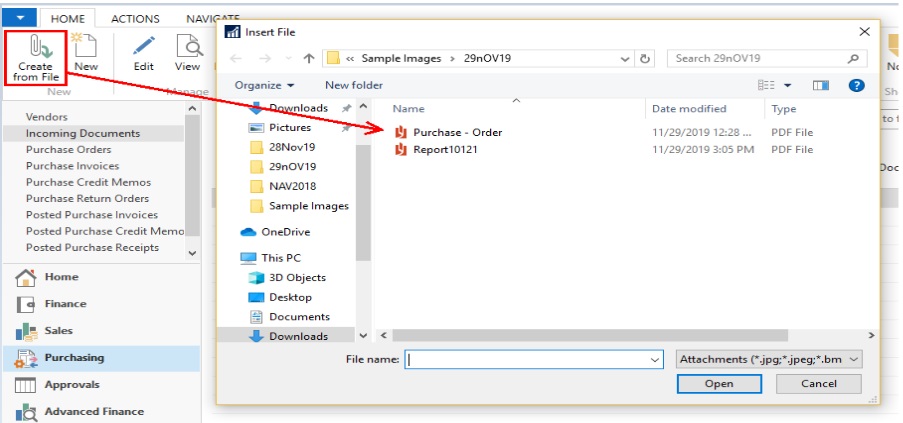
- Open Microsoft Dynamics and navigate to the Incoming Documents list.
- Click ‘Create from File’, and select an invoice image, such as a PDF file, on your computer.
- Note: The PDF image file should comply with the format as recommended by NAV 2018
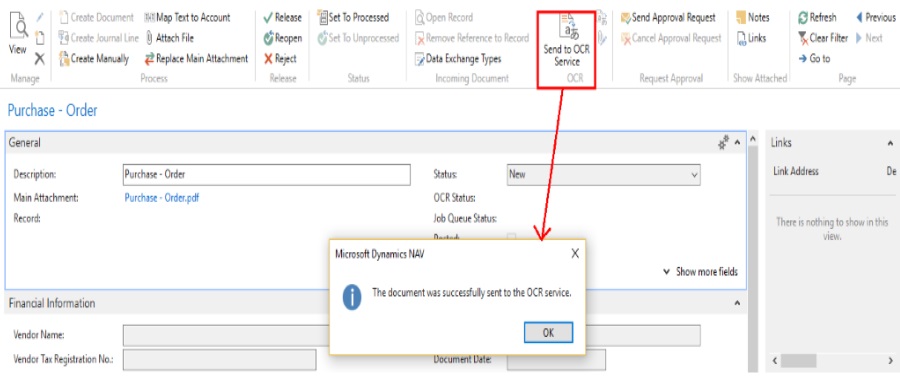
Step 6:
- Click ‘Send to OCR Service’ in the dialog that appears. (After a moment ReadSoft Online begins processing the document.)
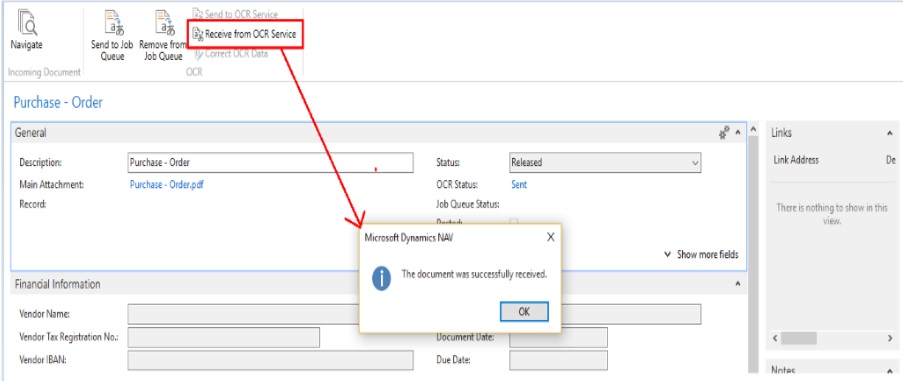
Step 7:
- Click ‘Receive from OCR Service’ to retrieve the result.
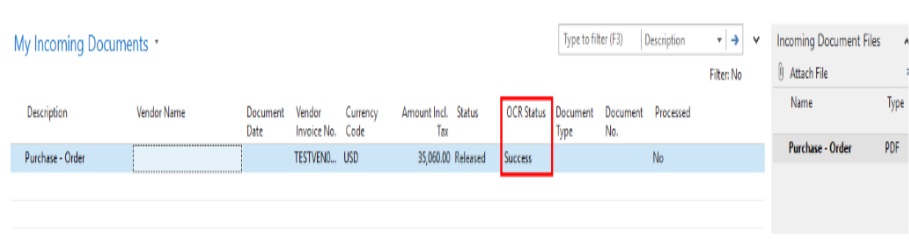
- Navigate to My Incoming Documents >
- After successful process of the file in OCR service, the OCR Status field will be updated to ‘Success’
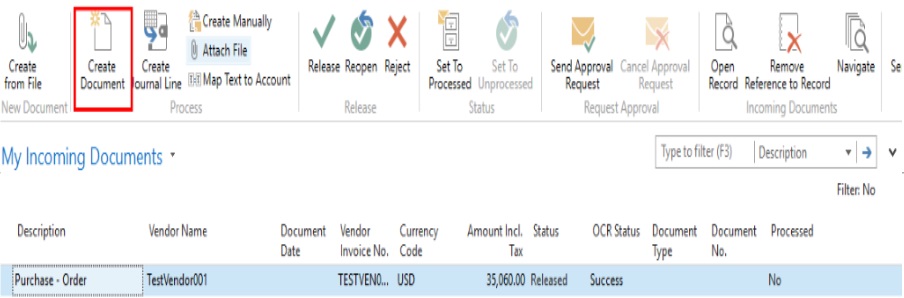
Step 8:
- After the invoice data shows up in the Incoming Document card, click ‘Create Document’ to create a Dynamics Purchase Invoice from the resulting data.
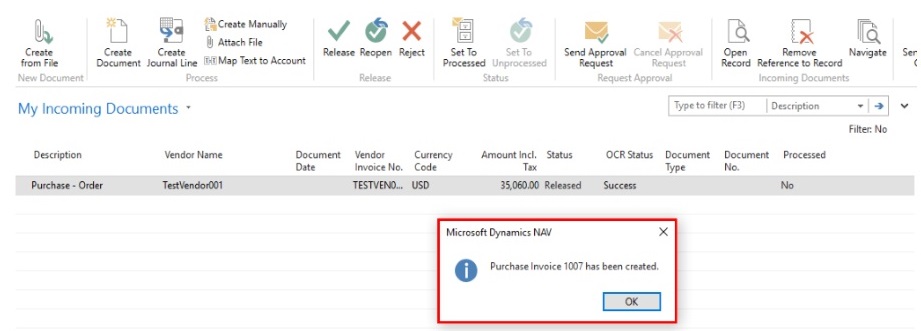
Step 9:
- It will create the Purchase Invoice.
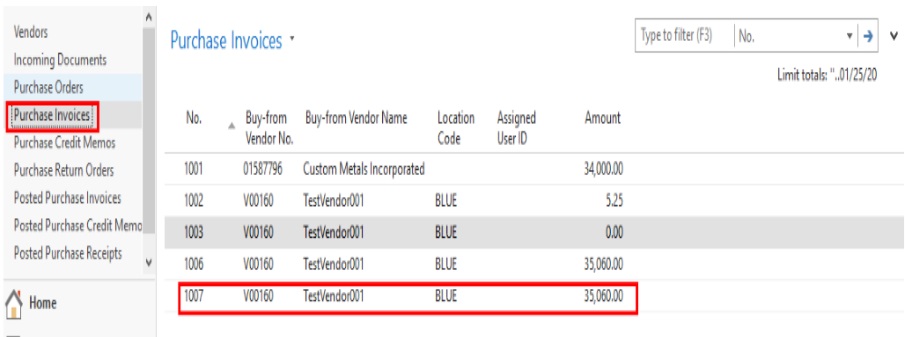
Step 10:
- Now go to the “Purchase Invoice” screen you can see the created invoice in the list.
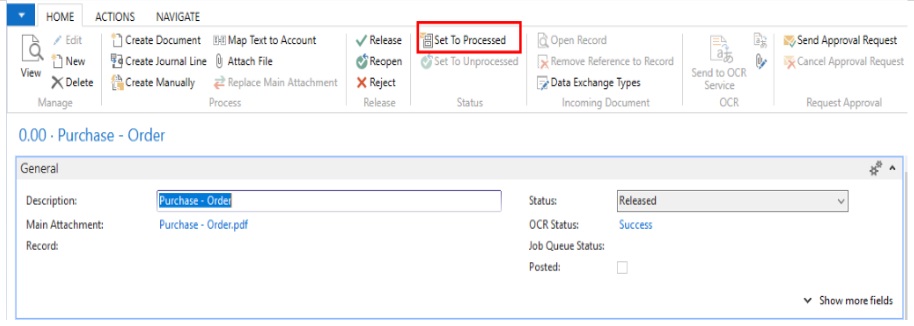
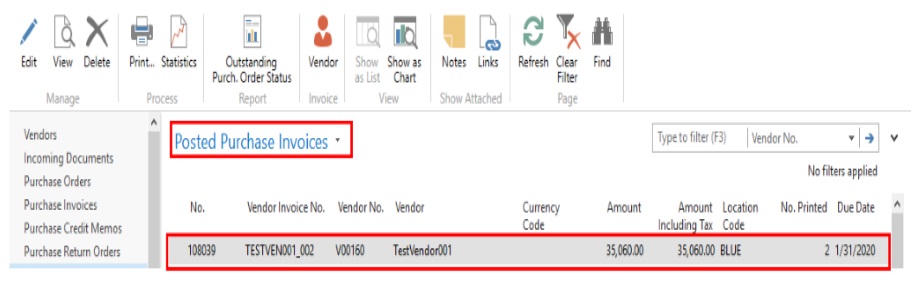
Step 11:
- After creating the invoice, click Open the created record from the incoming document list and click on the “Set to Proceed” button. It will then be moved to the “Posted Purchase Invoices” list screen.
For any sort of Advisory, Consulting, Implementation and Support Services related to implementing OCR solutions in NAV 2018, please connect with us on info@karyatech.com